
5 ROESTing tips from Tim Wendelboe
Roasting is all about achieving the best aroma and flavor that is locked inside green coffee beans. To obtain this, it is important to analyze the variables that can impact the roasting process and your results.
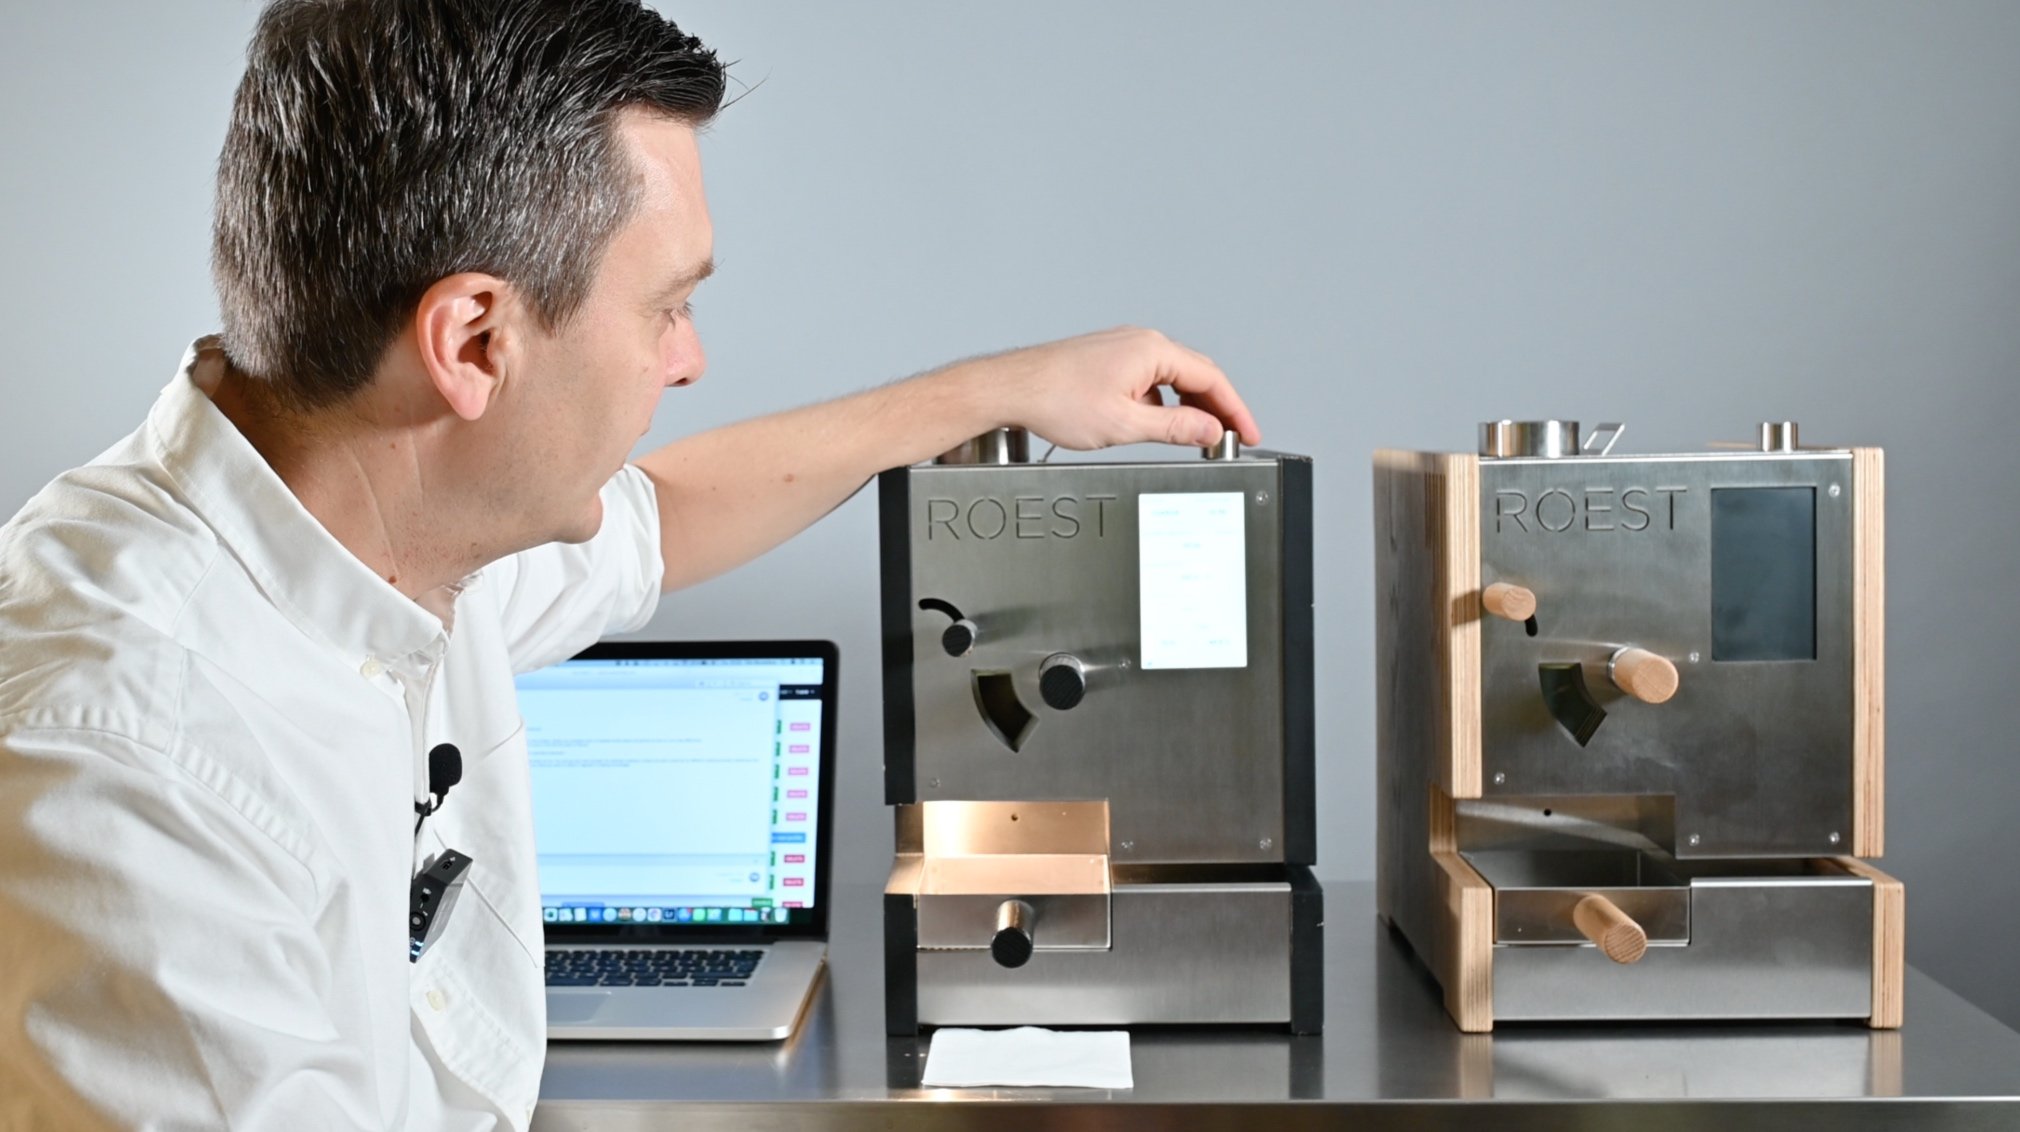
We met up with Tim Wendelboe for a ROEST Workshop and covered a couple of basic variables on the Sample Roaster. He shared 5 great ROESTing tips on different factors that can affect the taste of your coffee. Enjoy!

Tim Wendelboe, ready to share his ROESTing process and advice.
1. Suitable roast profile
There are many variables to consider before dropping your green coffee into ROEST. The first one being the coffee itself, of course! Where does it come from? How was this coffee processed? The life of the coffee is important to consider when brainstorming a suitable roast profile to bring the coffee to its potential.
For example, Tim approaches natural and honey processed coffee slightly differently. “The end color of these coffees needs to be a little bit lighter than washed coffees. Why? Maybe because the silver skin is not as dominant anymore, so you don't get that kind of white spot. When you measure color you only measure average color, and if you have a lot of white spots in the coffee, obviously you need to achieve a darker color.” he says.
Usually Tim receives samples from the Caballeros family in Honduras, and these coffees are very well processed. “They’re dried in shade, so the beans are quite dense. I have a slightly different profile for those coffees,” he explains. “Especially when they are fresh, they roast a little bit differently compared to two or three months later when it's been resting for a while. Maybe then I’ll go back to my Kenya test profile that works for everything.”
Tim Wendelboe’s goal for this season is to make solid profiles for each producer that he buys from. This way he will know what to go for, and if that goes astray, he will always have his back-up Kenya profile to go after - a simple, quite slow increasing temperature profile that works for almost all coffees.
“
I feel like people tend to over complicate roasting a little bit. Keep it simple, that's my best advice. You don't have to do a lot of adjustments all the time, let the machine do that for you. Just make a very simple curve.

Different coffee beans have different characteristics. It is crucial to know your coffee inside out when creating a roast profile to bring out the best flavor.
2. Buzzer for low moisture samples
It is essential to evaluate the moisture content of the green beans. Generally making up around 11% of green coffee’s weight, it can influence everything from acidity and sweetness, to aroma and mouthfeel.
If you are roasting coffee with a lower moisture content, you can follow Tim’s tip on how to keep track when roasting on ROEST:
“I do have a lot of samples that are quite dry. So let's say around 9% moisture for instance, which I don't mind,” he says. “What happens when you have very low moisture, is that you don't generate a lot of steam pressure in the beans. So you might not get a very distinct cracking, and the machine might not detect those very subtle cracks. It still detects cracks, but you kind of have to keep an eye on it as well. Therefore, I like to have a little buzzer on when it reaches a certain temperature. The machine will give me a little beep, then I’ll head over and watch the sample get finished.”
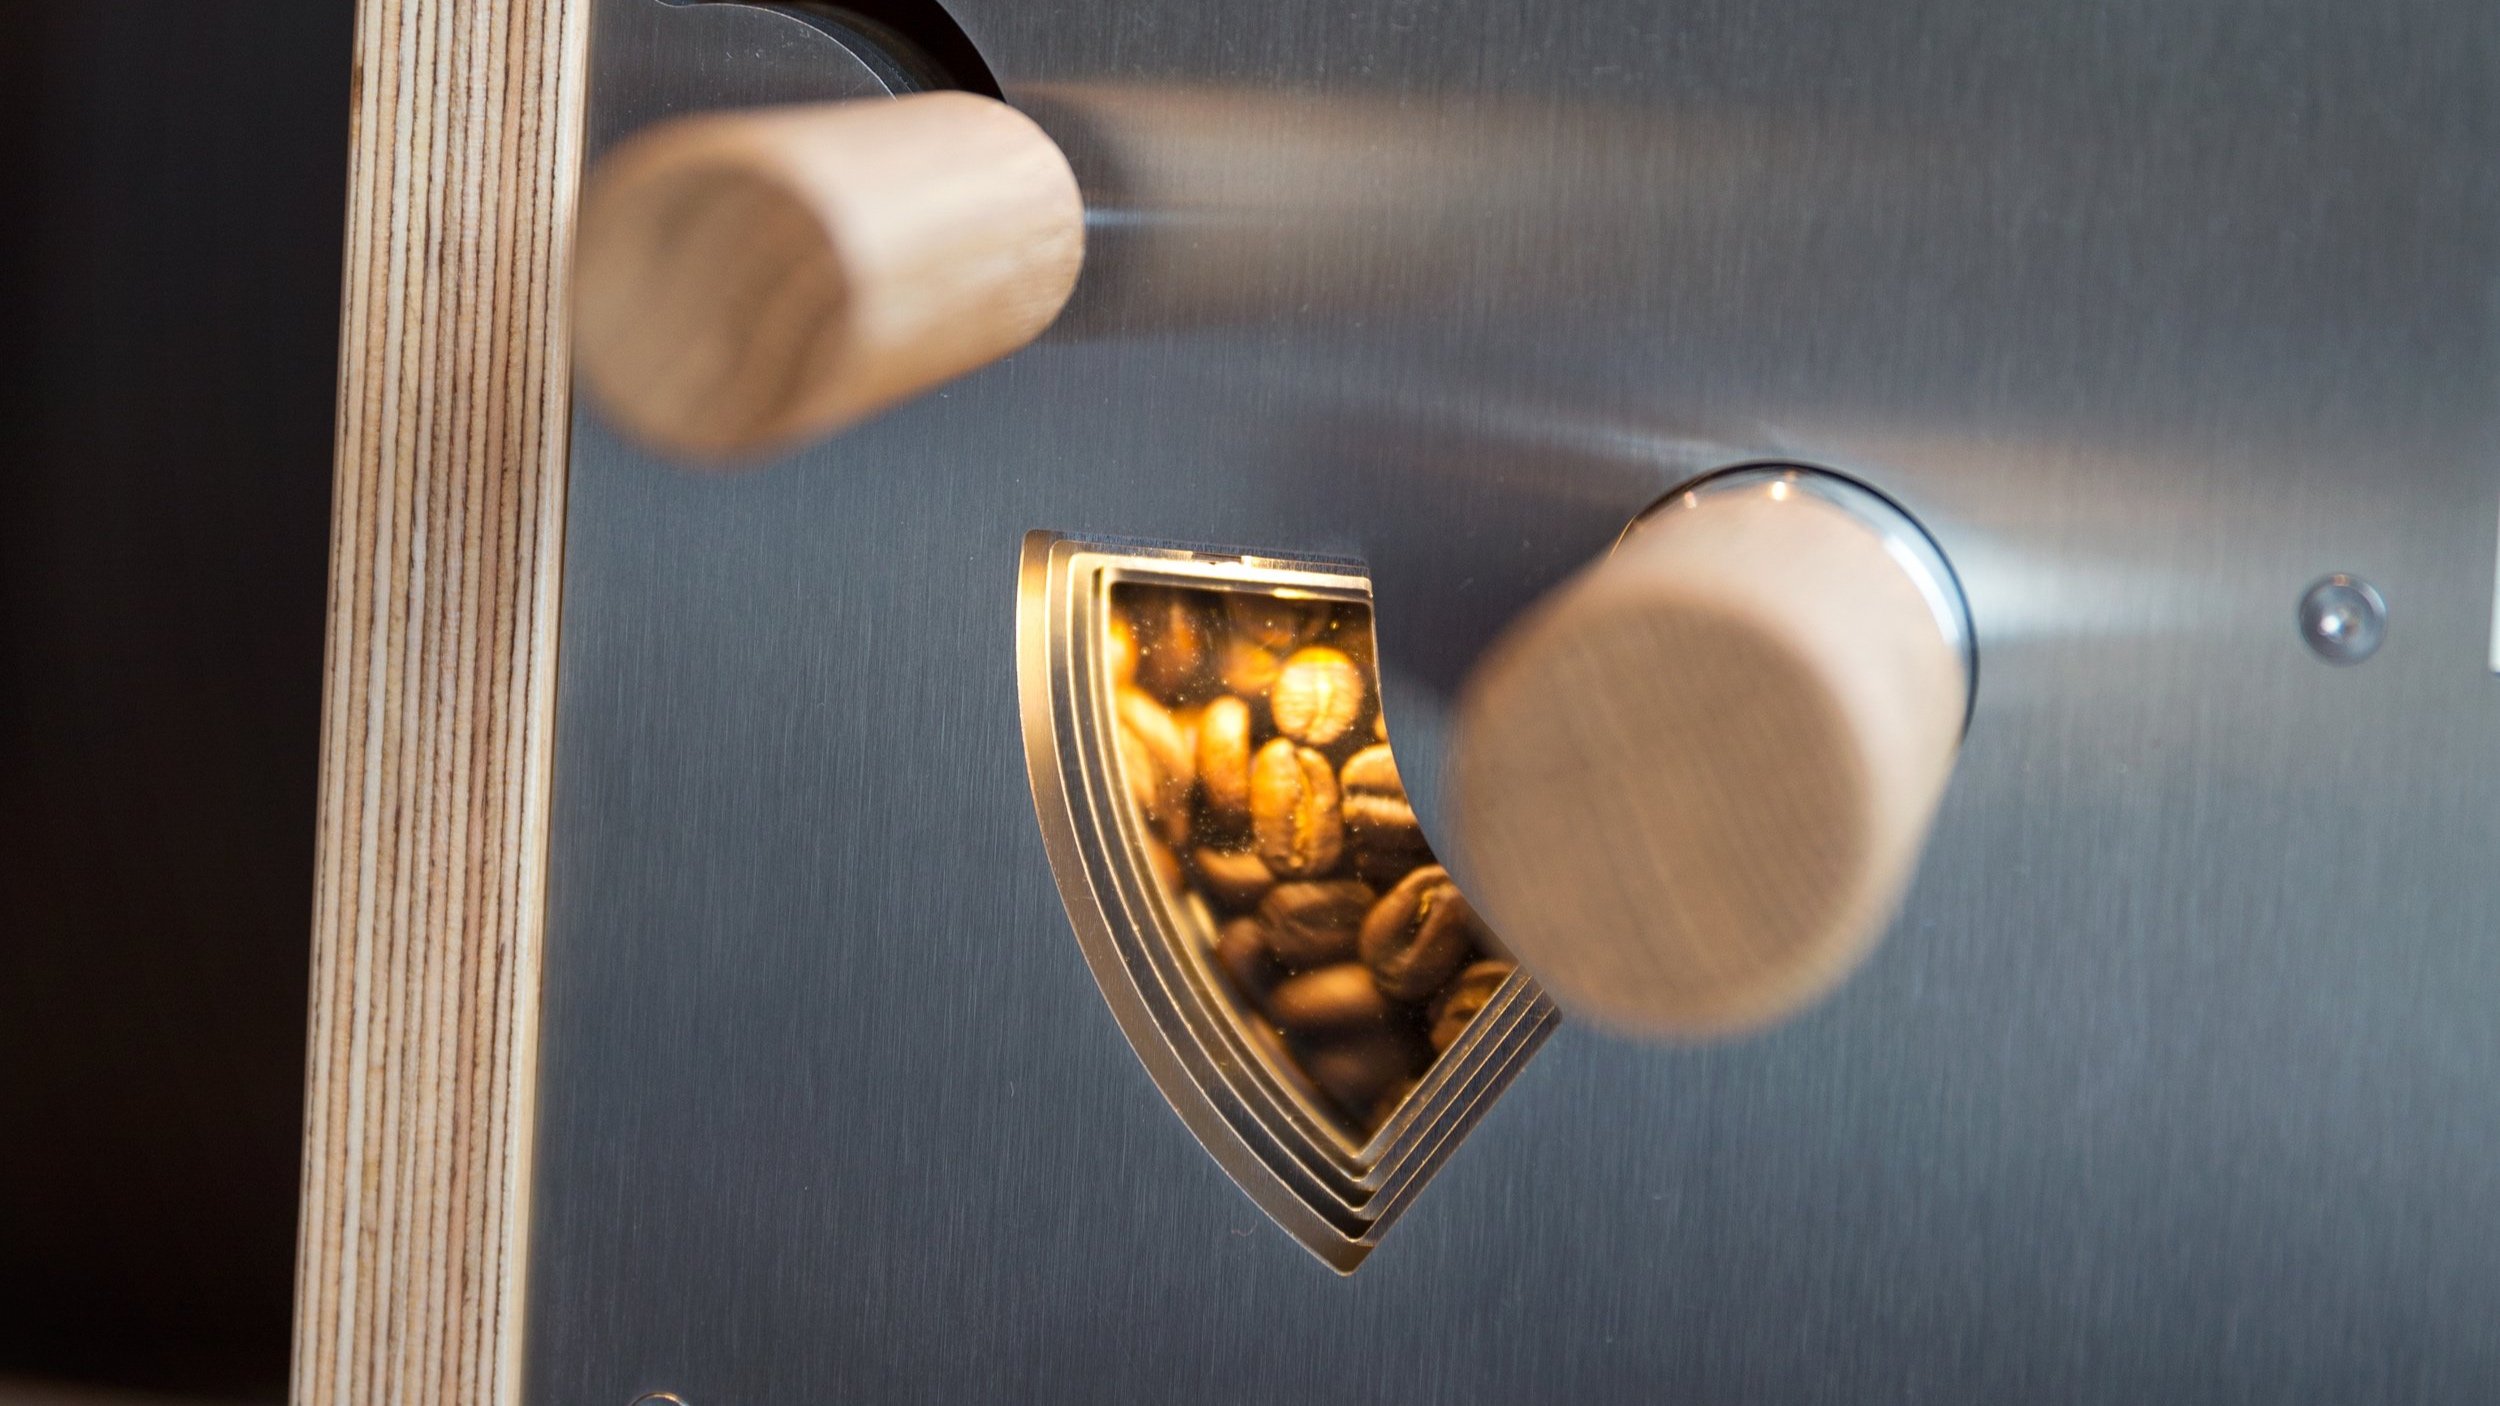
With ROEST, you can take manual control at any time during the roasting process.
3. Determining development time
The development time refers to the period after First Crack until the end of the roast. Tim received a question from a fellow roaster on how to approach and determine the development time on ROEST:
“It really depends on the coffee. Normally my total time is not more than six and a half minutes, and sometimes it's even faster. It depends on the moisture content of the coffee,” he replies. “If the moisture content is a little high, I might stretch the development time, but I’m rarely more than 65 seconds. I can't even remember the time that I've gone over that. Also I'm very rarely below 45 seconds.”
According to Tim, the length of the development stage can also vary depending on the type of coffee processing. His advice for natural processed coffee is as follows: “For instance, I could do 45 seconds on a natural from Ethiopia, where I use a lot of energy in the beginning to kind of get the coffee going. I feel like those coffees taste better when they're really light in color,” he says. “It's normally pretty easy to develop on ROEST. So I could do a 45 to 50 second development time on a coffee like that. It also depends a little bit on the moisture content, of course, so higher moisture content - normally a little bit longer.”
He goes on to suggest a longer period for honey processed and fully washed coffee: “A honey coffee from El Salvador will be more like a 50 second development time, and then fully washed coffee, shade dried from Finca Tamana or Caballeros - I would go 55 to 66 seconds normally,” he says. “Sounds like that's a very short time but there's a lot of stuff happening in that period, and of course the temperature is quite high - it’s 220 plus degrees.”
The development stage can vary depending on the type of coffee processing.
4. When to end the roast
When to end the roast will depend on the flavor profile you are trying to achieve. On ROEST, you have the ability to choose a roast profile beforehand with a pre-set development time. However, it is always possible to oversteer and finish the roast manually whenever you feel it is needed.
Tim usually ends his roast after a development time of 55 seconds - depending on the coffee. Though, sometimes he oversteers if he feels like it’s necessary. How does he know when? Well, his best advice is to interact with the coffee: “I basically look at the coffee. You also kind of hear it cracking. If it's not cracking a lot, which can happen with small samples, it's basically looking at it,” he says.
“
I actually prefer just taking small samples every now and then, and push the button when I'm ready. That's kind of how I do it.
He goes on to add a simple tip: “Have a reference to a color that you are comfortable with cupping, that means having a roasted sample next to it, just to have something to compare it with. And that's how you decide.”

Tim prefers to interact and keep track on the coffee by using the trier.
5. Preventing underdeveloped coffee
Now, what to do if a sample tastes underdeveloped or green? A curious coffee roaster wanted to know what might have gone wrong and how to prevent this, and Tim replies:
“My first thing would be to look at the profile. If it's a very slow profile you might want to speed it up, if it's too fast you might want to slow it down. On a ROEST, I think the recommended time would be between five and seven minutes, at least no more than eight minutes probably. If you're slower than that, you're probably not putting enough energy into it. You can still get a roasted coffee but it will taste a little green as well, maybe a little flat. If it's kind of green and astringent, you might be roasting a little too fast.”.
We hope you found Tim’s tips useful! If you want to learn more, check out the entire ROEST Workshop down below.