
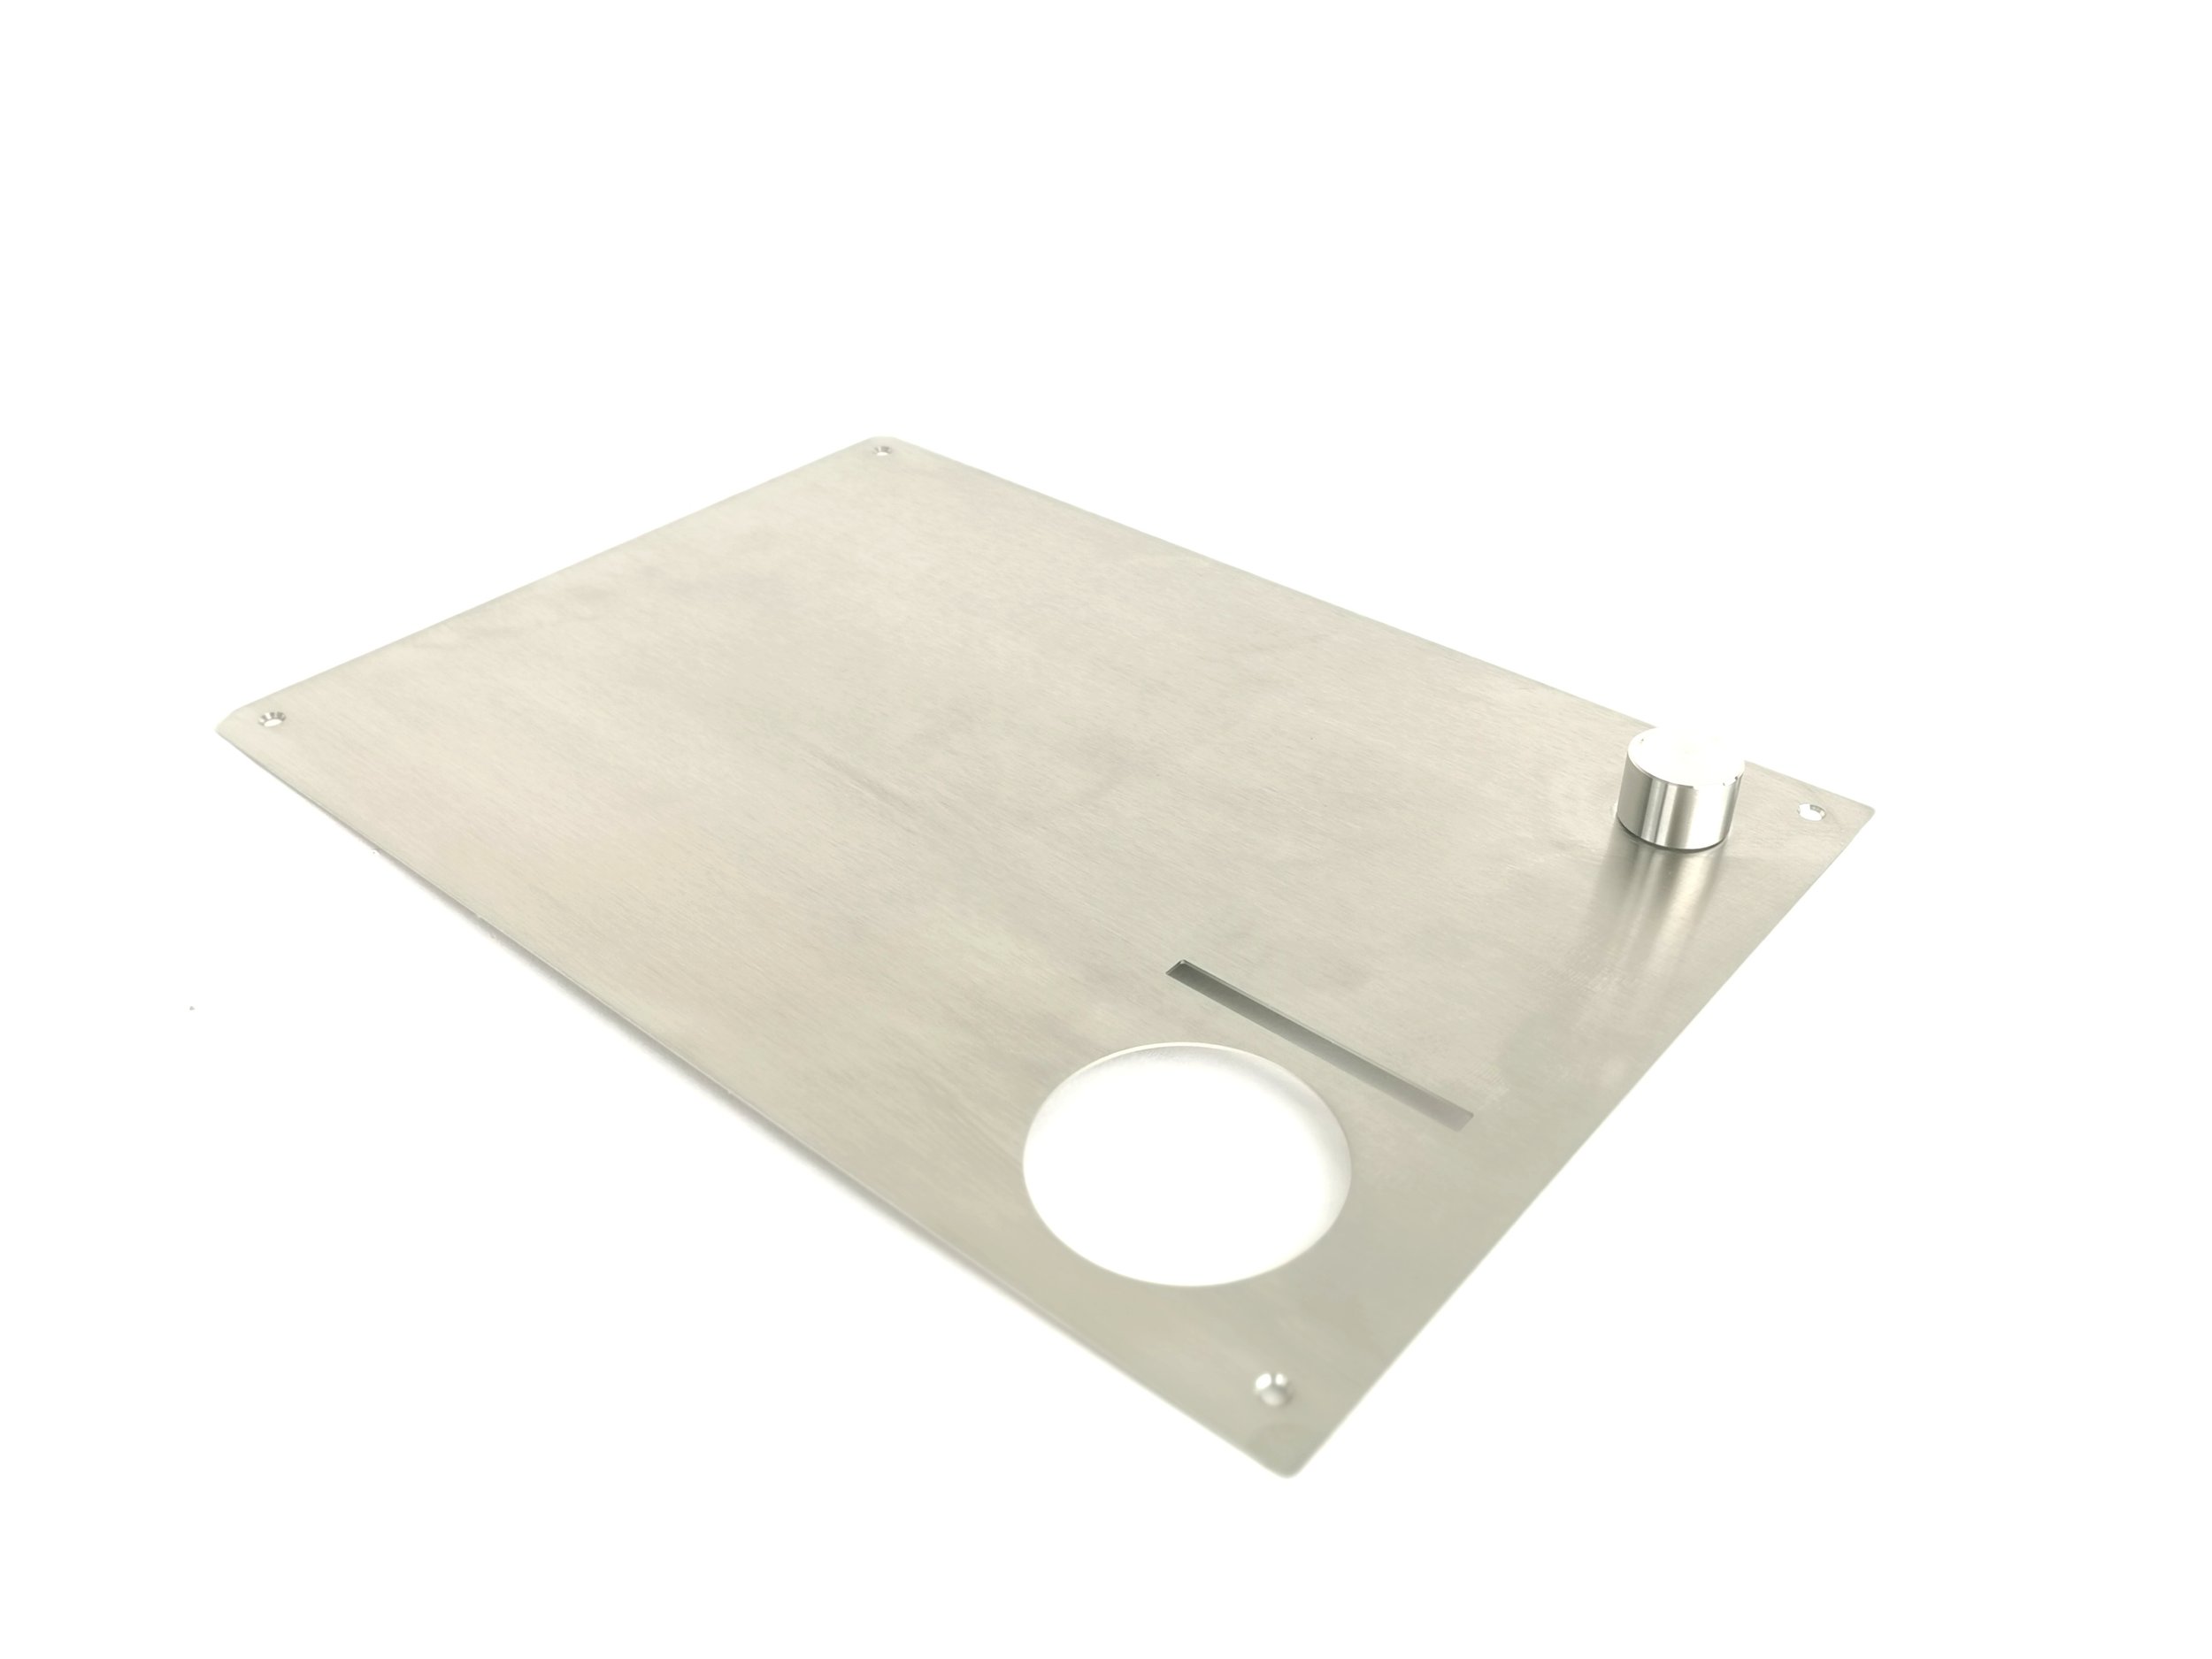
How to remove and install top plate
Before you start
⚠️DISCLAIMER
Information in this document is believed to be accurate and reliable. However, the manufacturer does not give any representations or warranties, expressed or implied, as to the accuracy or completeness of such information and shall have no liability for the consequences of the use of such information. The manufacturer is not liable or responsible for any problems arising from the attempted repair. The manufacturer reserves the right to make changes to information published in this document, including without limitation specifications and product descriptions, at any time and without notice. The manufacturer's products are not designed, authorized, or warranted to be suitable for use in applications where failure or malfunction can reasonably be expected to result in personal injury, death, or severe property or environmental damage. The manufacturer accepts no liability for inclusion and/or use of its products in such equipment or applications and therefore such inclusion and/or use is for the customer’s own risk.
⚠️SAFETY INSTRUCTIONS
make sure the roaster is turned off
the power cord has to be unplugged
follow the steps as instructed below
Tools

2-millimeter hexagonal tool
How to remove the top plate
Take off the hopper and follow the instruction below.

1. There are four screws on the top

2. Use the 2-millimeter hexagonal tool to remove them

3. Take off the plate slowly
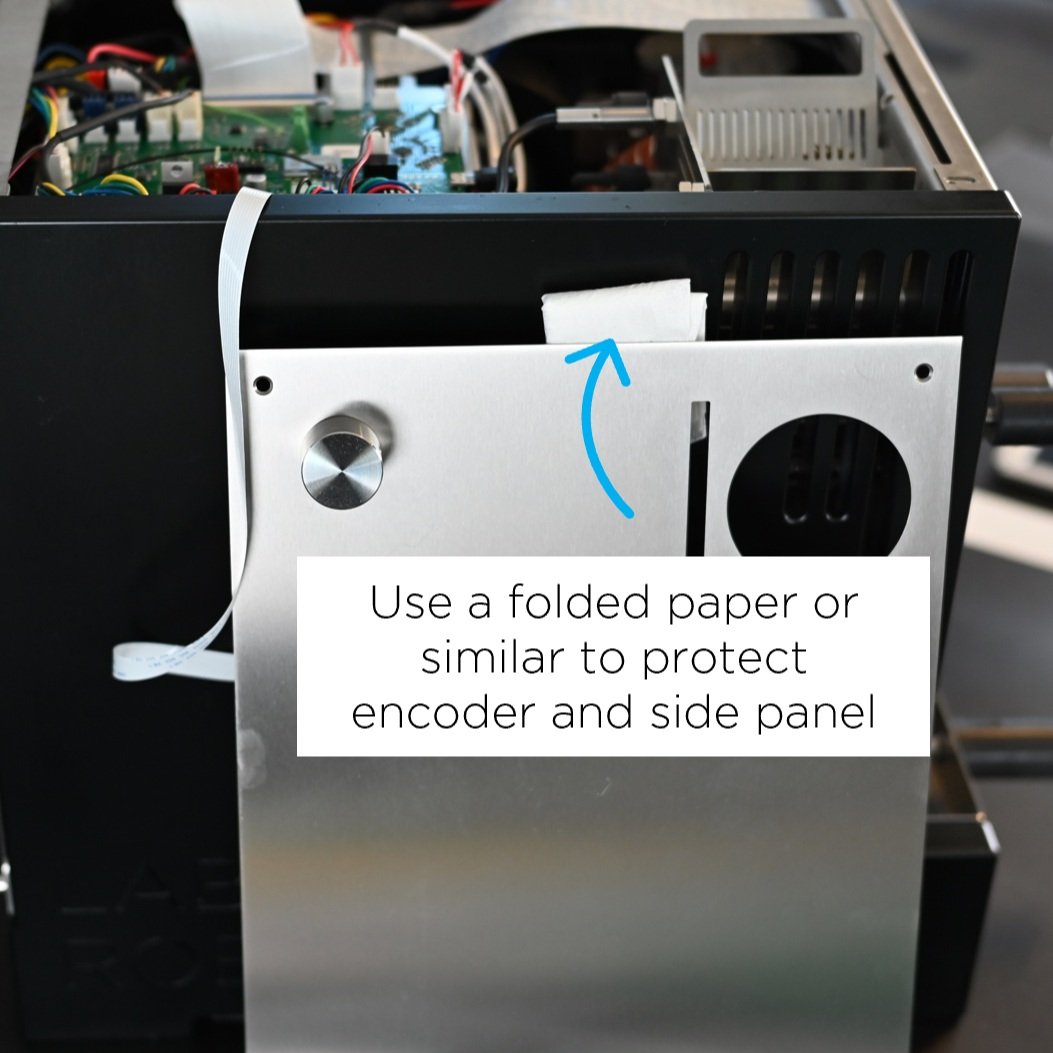
5. Gently, lean the plate on the side of the roaster.
If you need to remove the cable attached to the encoder, push the black retaining clip and disconnect the cable.

The following video shows you how to remove the top plate.
How to install the top plate
If the encoder cable has been detached, you must connect it before you install the top plate. Push the black retaining clip and insert the cable through the slot.

Make sure the blue band on the cable is facing up.

Ensure the cable is inserted into the slot and the black retaining clip is fully fastened.
Now, install the top plate.

Follow this order to tighten the screws

Make sure to press front plate when installing screw 1 and 3
The following video shows you how to install the top plate.