About roasting profiles
All you need to know about the roasting profiles of your ROEST.
Sections:
Type of profiles
There are four main roasting profiles available:
Air temperature profile - often abbreviated ET (environmental temperature)
Power profile
Inlet temperature profile
Bean temperature profile - often abbreviated BT
ET and BT profiles start roasting with a temperature defined in profile creation. Power and inlet profiles have a waiting temperature (charge temperature) specified in “ROAST SETTINGS” on the touchscreen, where you can change it from the default 180C. For all profiles, you can set a preheat temperature in profile creation instead if preferred.
Library of profiles
After ordering the ROEST sample roaster you will receive an email with your username and password.

To access the library, login into the Web Portal (you can read how to do it here), go to the Main Menu and click on Profiles.
As you can see in the image below, the library is divided into two sets of profiles: “Assigned Profiles” and profiles to “Assign to slot”.
1. Assigned profiles – profiles (up to 5) downloaded to your roaster’s library.
2. Assign to slot – all profiles you have created or downloaded that are yet unassigned.
3. “Created by...” shows the original creator of the profile.
4. Type of profile - ET, BT, or power profile.
5. “Share profile” - tap to generate a link that can be shared with others.
6. “Show share link” - tap to receive the link for your profile, which can be shared with other ROEST users.
7. “Create new profile” - Editor for creating new profiles.

Selecting profiles
These three quick steps will take you to the list of downloaded profiles.

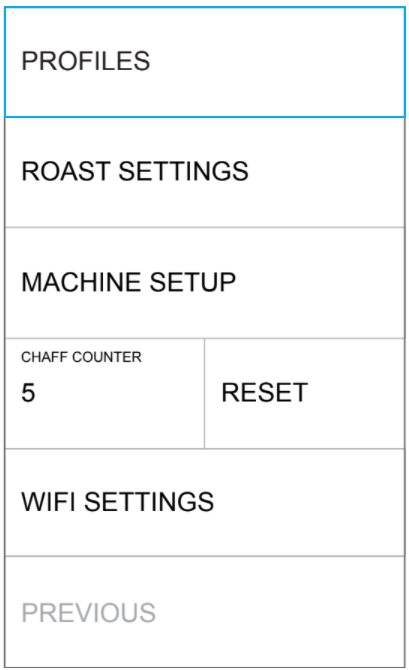

1. Go to the Main Menu
2. Tap “PROFILES”
3. Select a profile
After that, you will automatically be directed back to the main screen, and the roaster will start adjusting the parameters to the selected profile. Once it reaches the target temperature, the roaster is ready to roast.
Creating profiles
Follow the instructions in this guide if you wish to create a new profile.
Downloading profiles
The roaster can store a maximum of five profiles at a time. If you wish to change any of them, log into the Web Portal and assign new profiles. Once assigned, return to your roaster and tap “DOWNLOAD.” Now you have the new profiles added to your roaster.
A more detailed guide on downloading profiles can be found here.
Sharing profiles
Go to your library and find the profile you want to share.

The button “Share profile“ will appear on the right if it is the first time sharing this profile.
If the profile has been shared before, the button “Show share link“ will show instead.
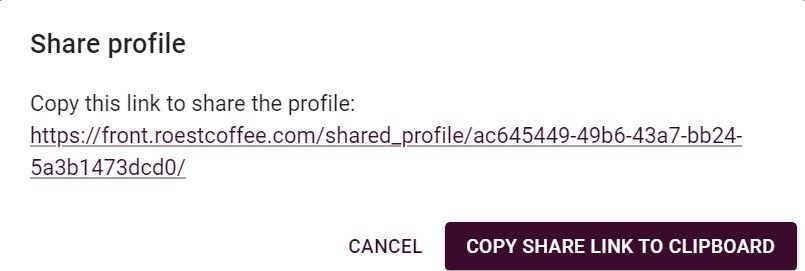
First time sharing the profile - click on SHARE PROFILE
1. Click on "generate share link"

2. Your share link will appear at the top of your profiles screen.

Profile previously shared - click on SHOW SHARE LINK
Copy the generated URL and share the profile as usual.